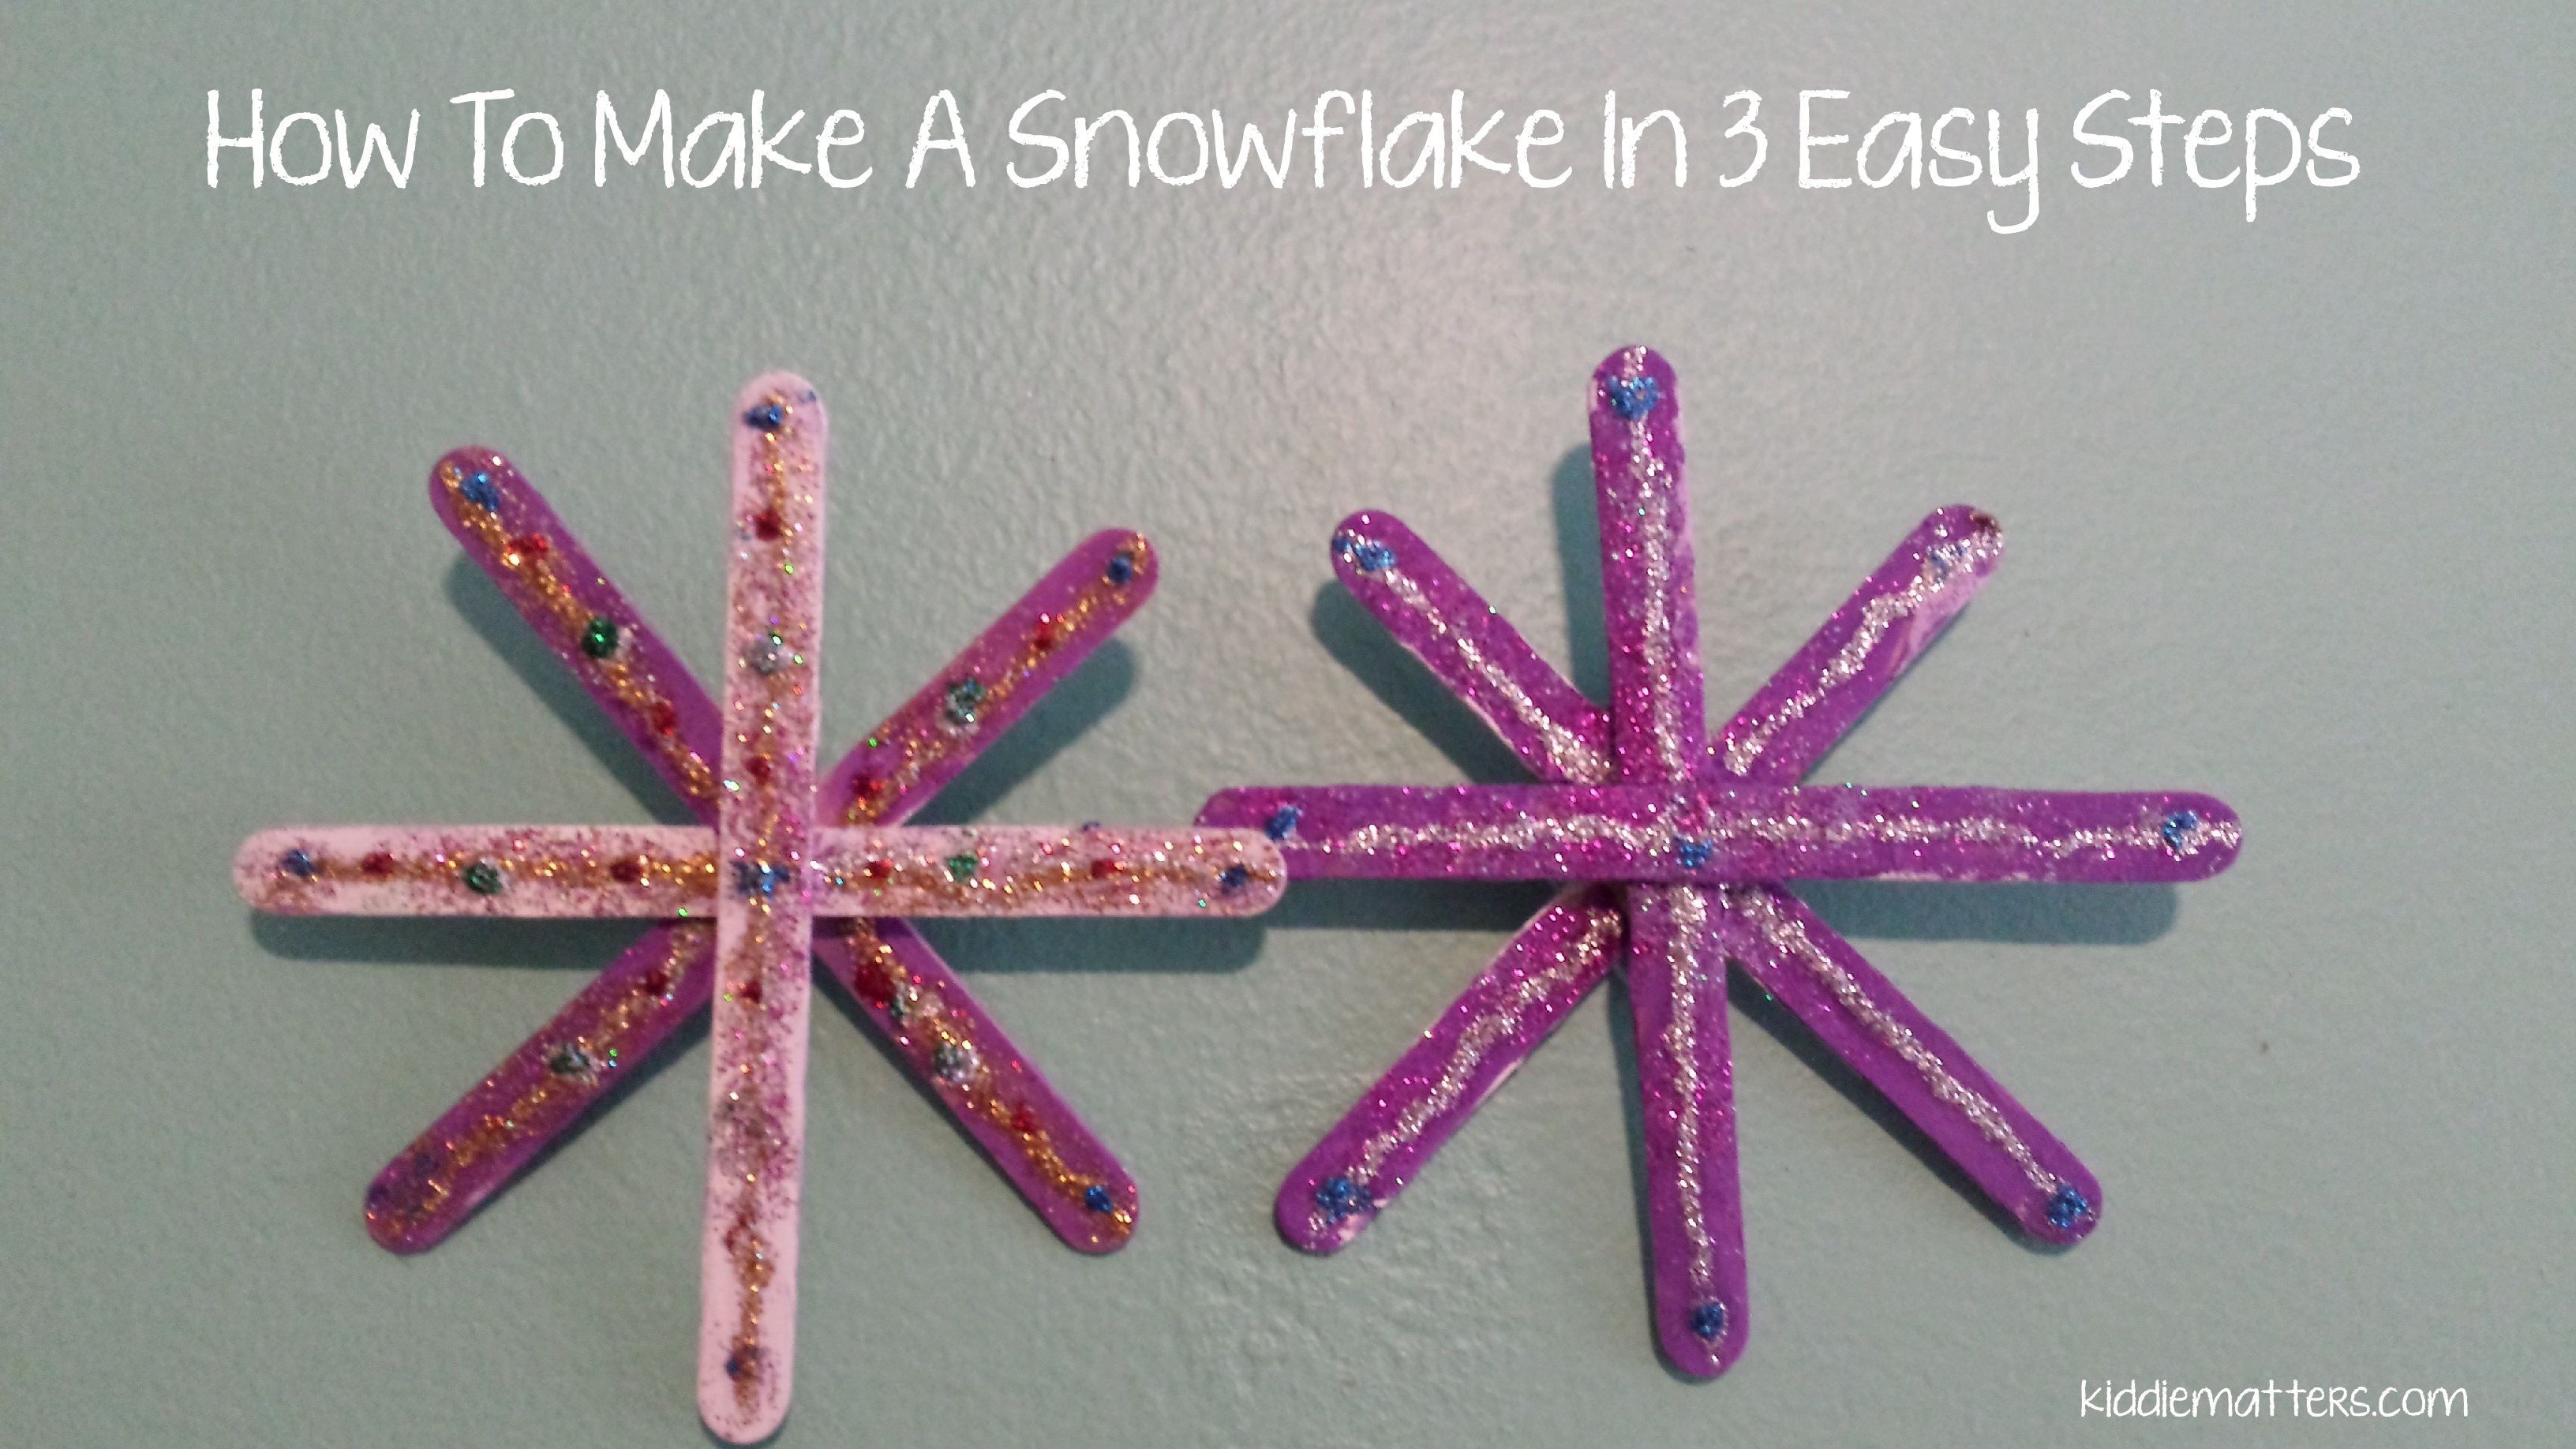
How To Make A Snowflake In 3 Easy Steps
Living in New York definitely comes with a lot of perks. However, when it comes to winter…any place warmer looks more appealing. The kiddies and I have been stuck inside the last few weeks. To keep my sanity and to minimize the countless complaints of “Mom, I’m bored,” we’ve done quite a bit of crafting. One of my favorite projects so far are Popsicle stick snowflakes. I love this craft because of it’s simplicity. Chances are, you already have all or most of what you need to complete this project.
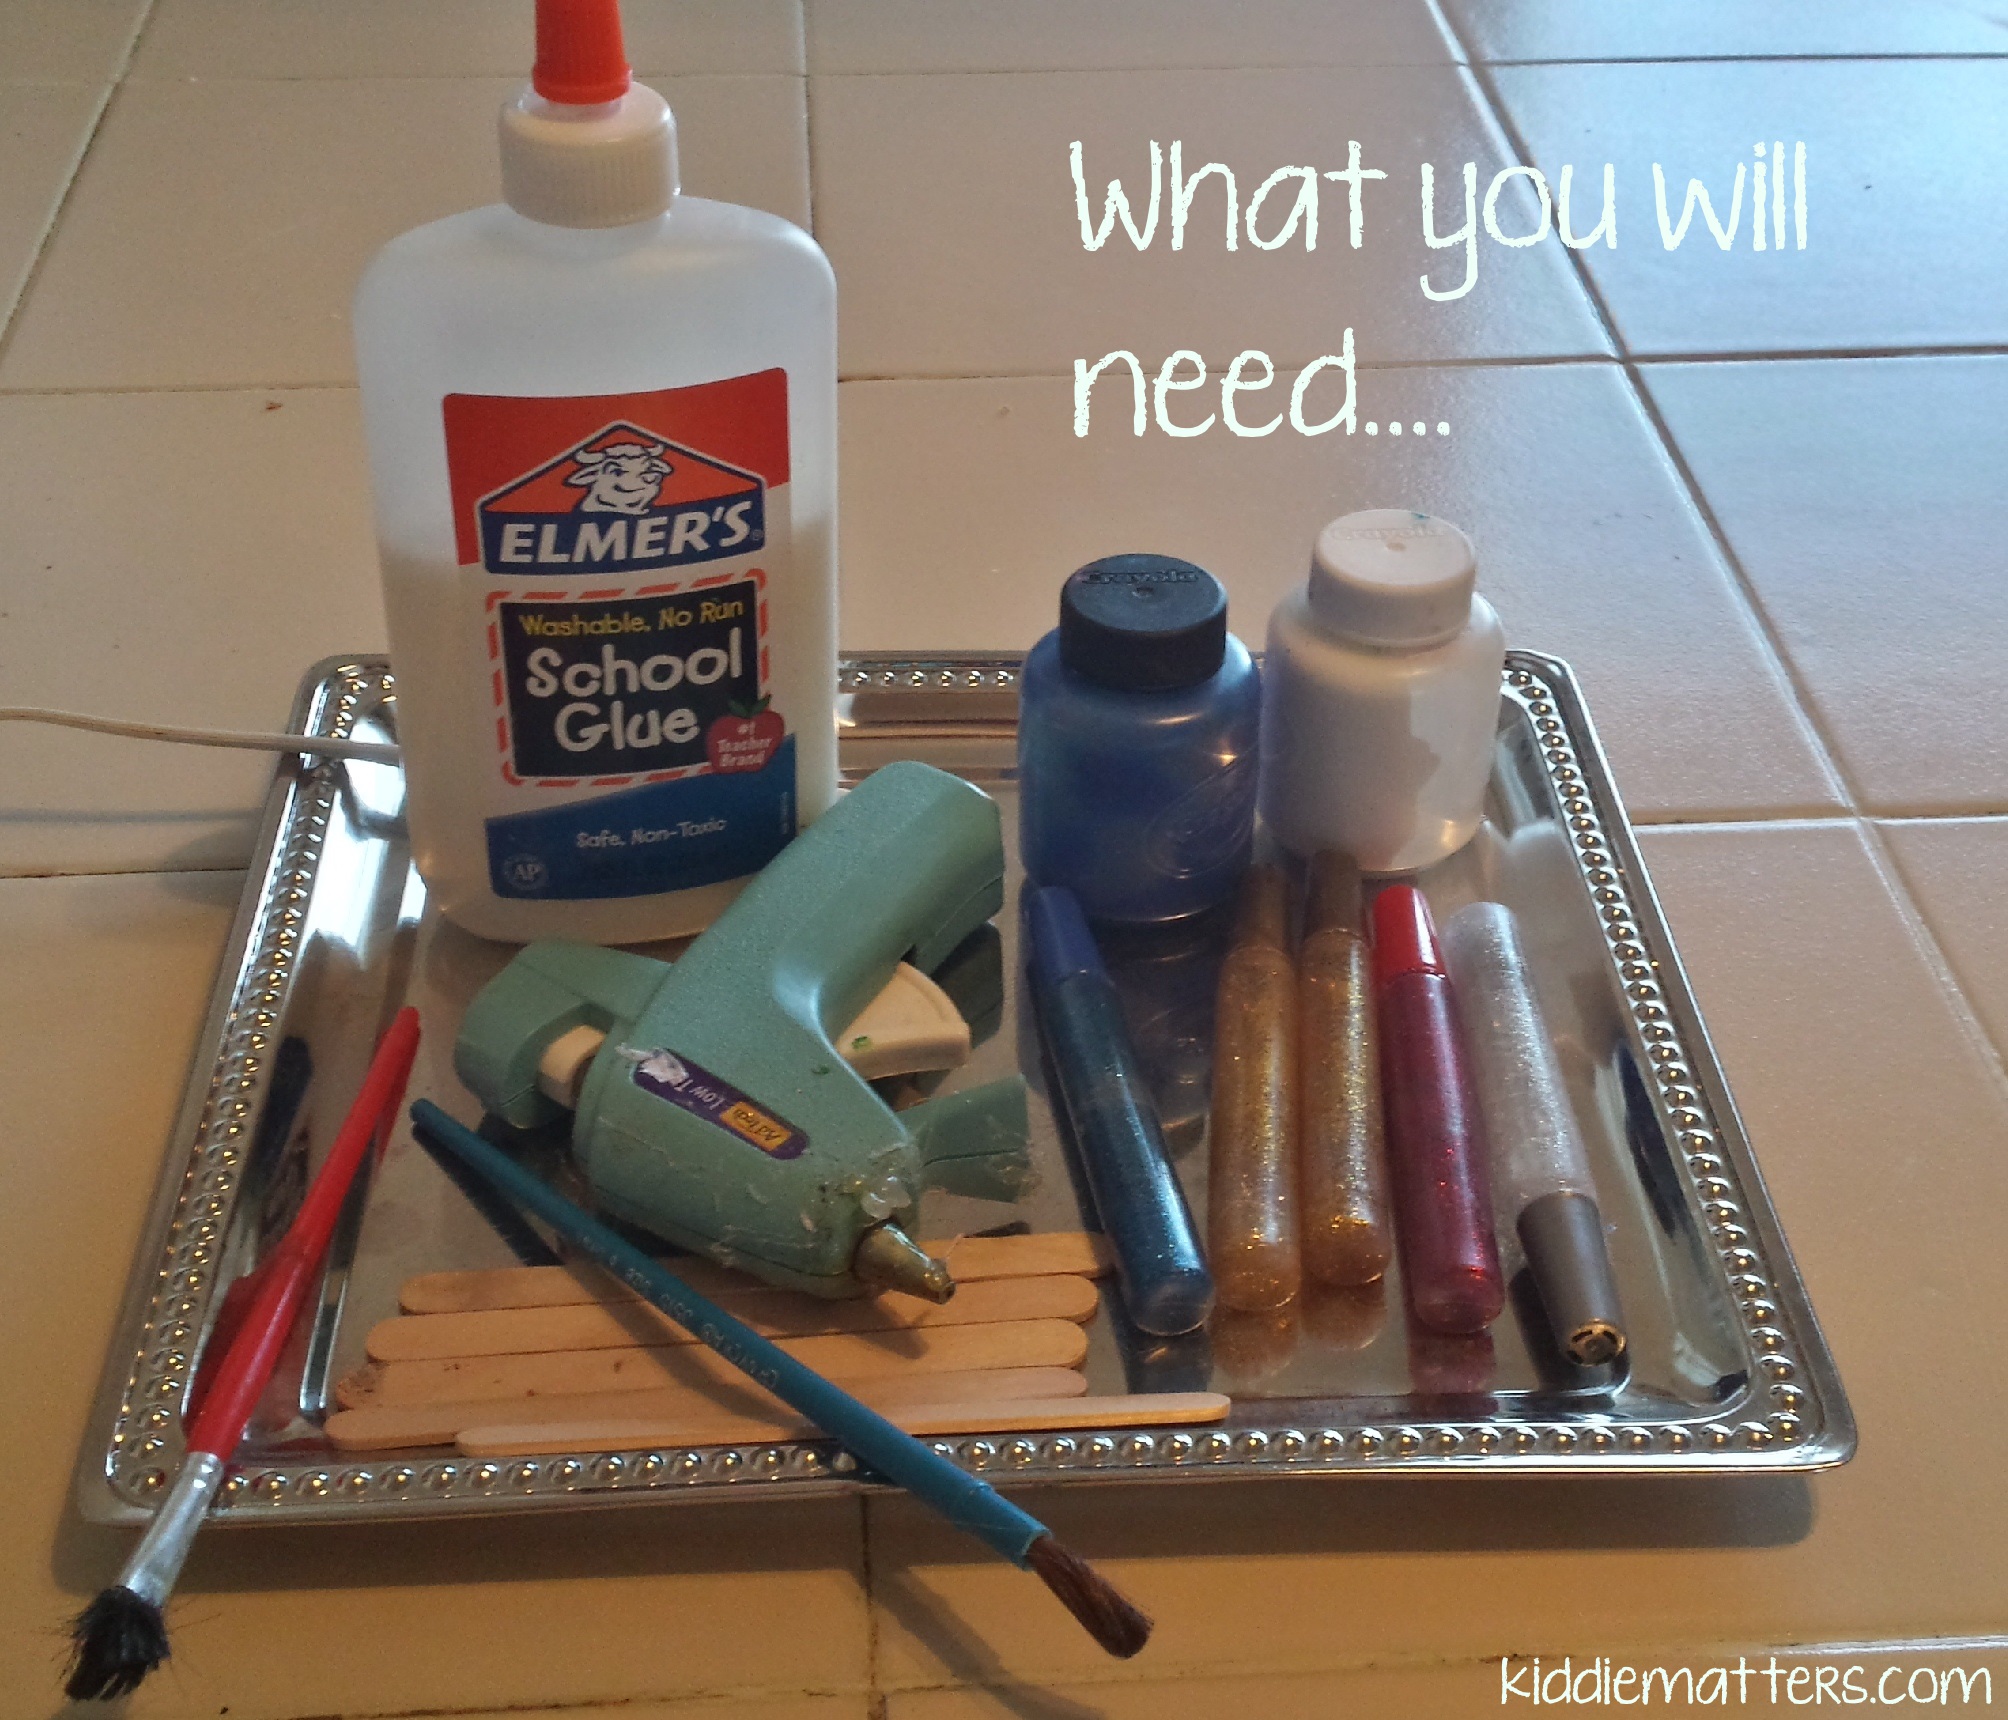
-Popsicle sticks
-Hot glue gun
-Elmer’s glue
-Glitter, gems, stickers, and other assorted embellishments
-Paint
-Paint brush
Step 1

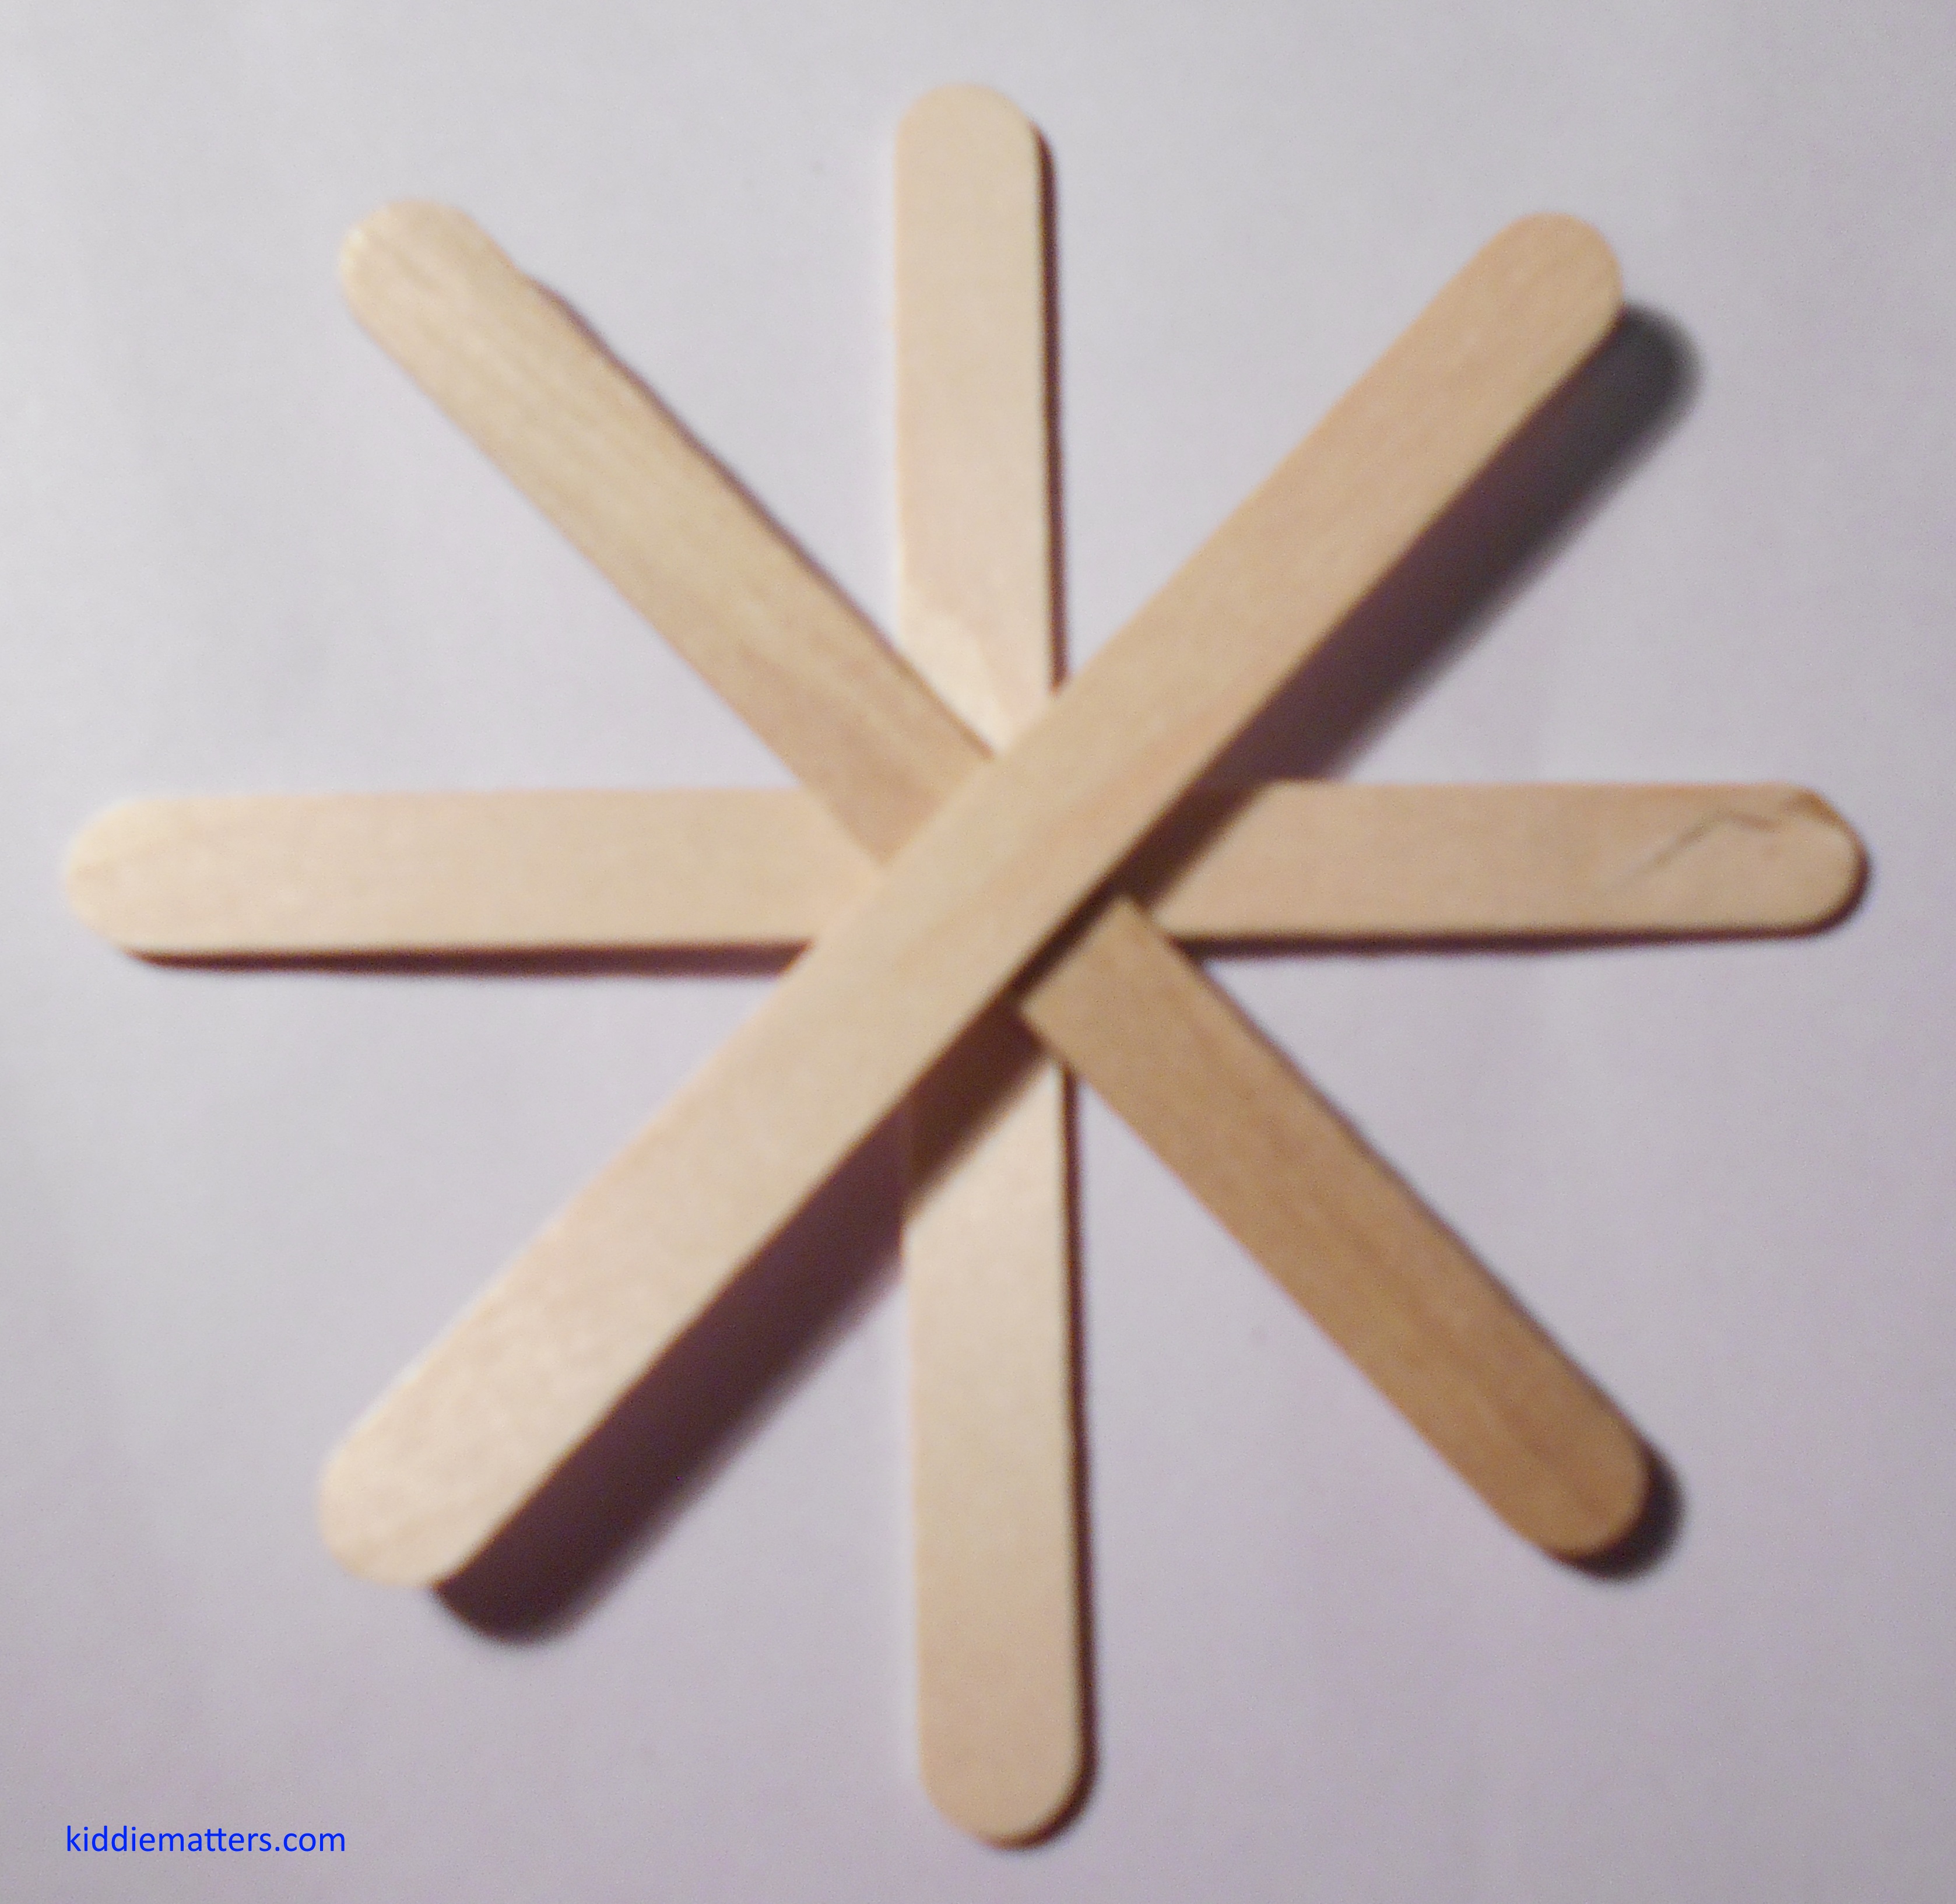
Assemble Popsicle sticks to form a snowflake. Glue two Popsicle sticks in the shape of an addition sign. Glue two more Popsicle sticks together to make an ‘X’ and then glue this on top of the Popsicle stick addition sign you made prior.
Step 2 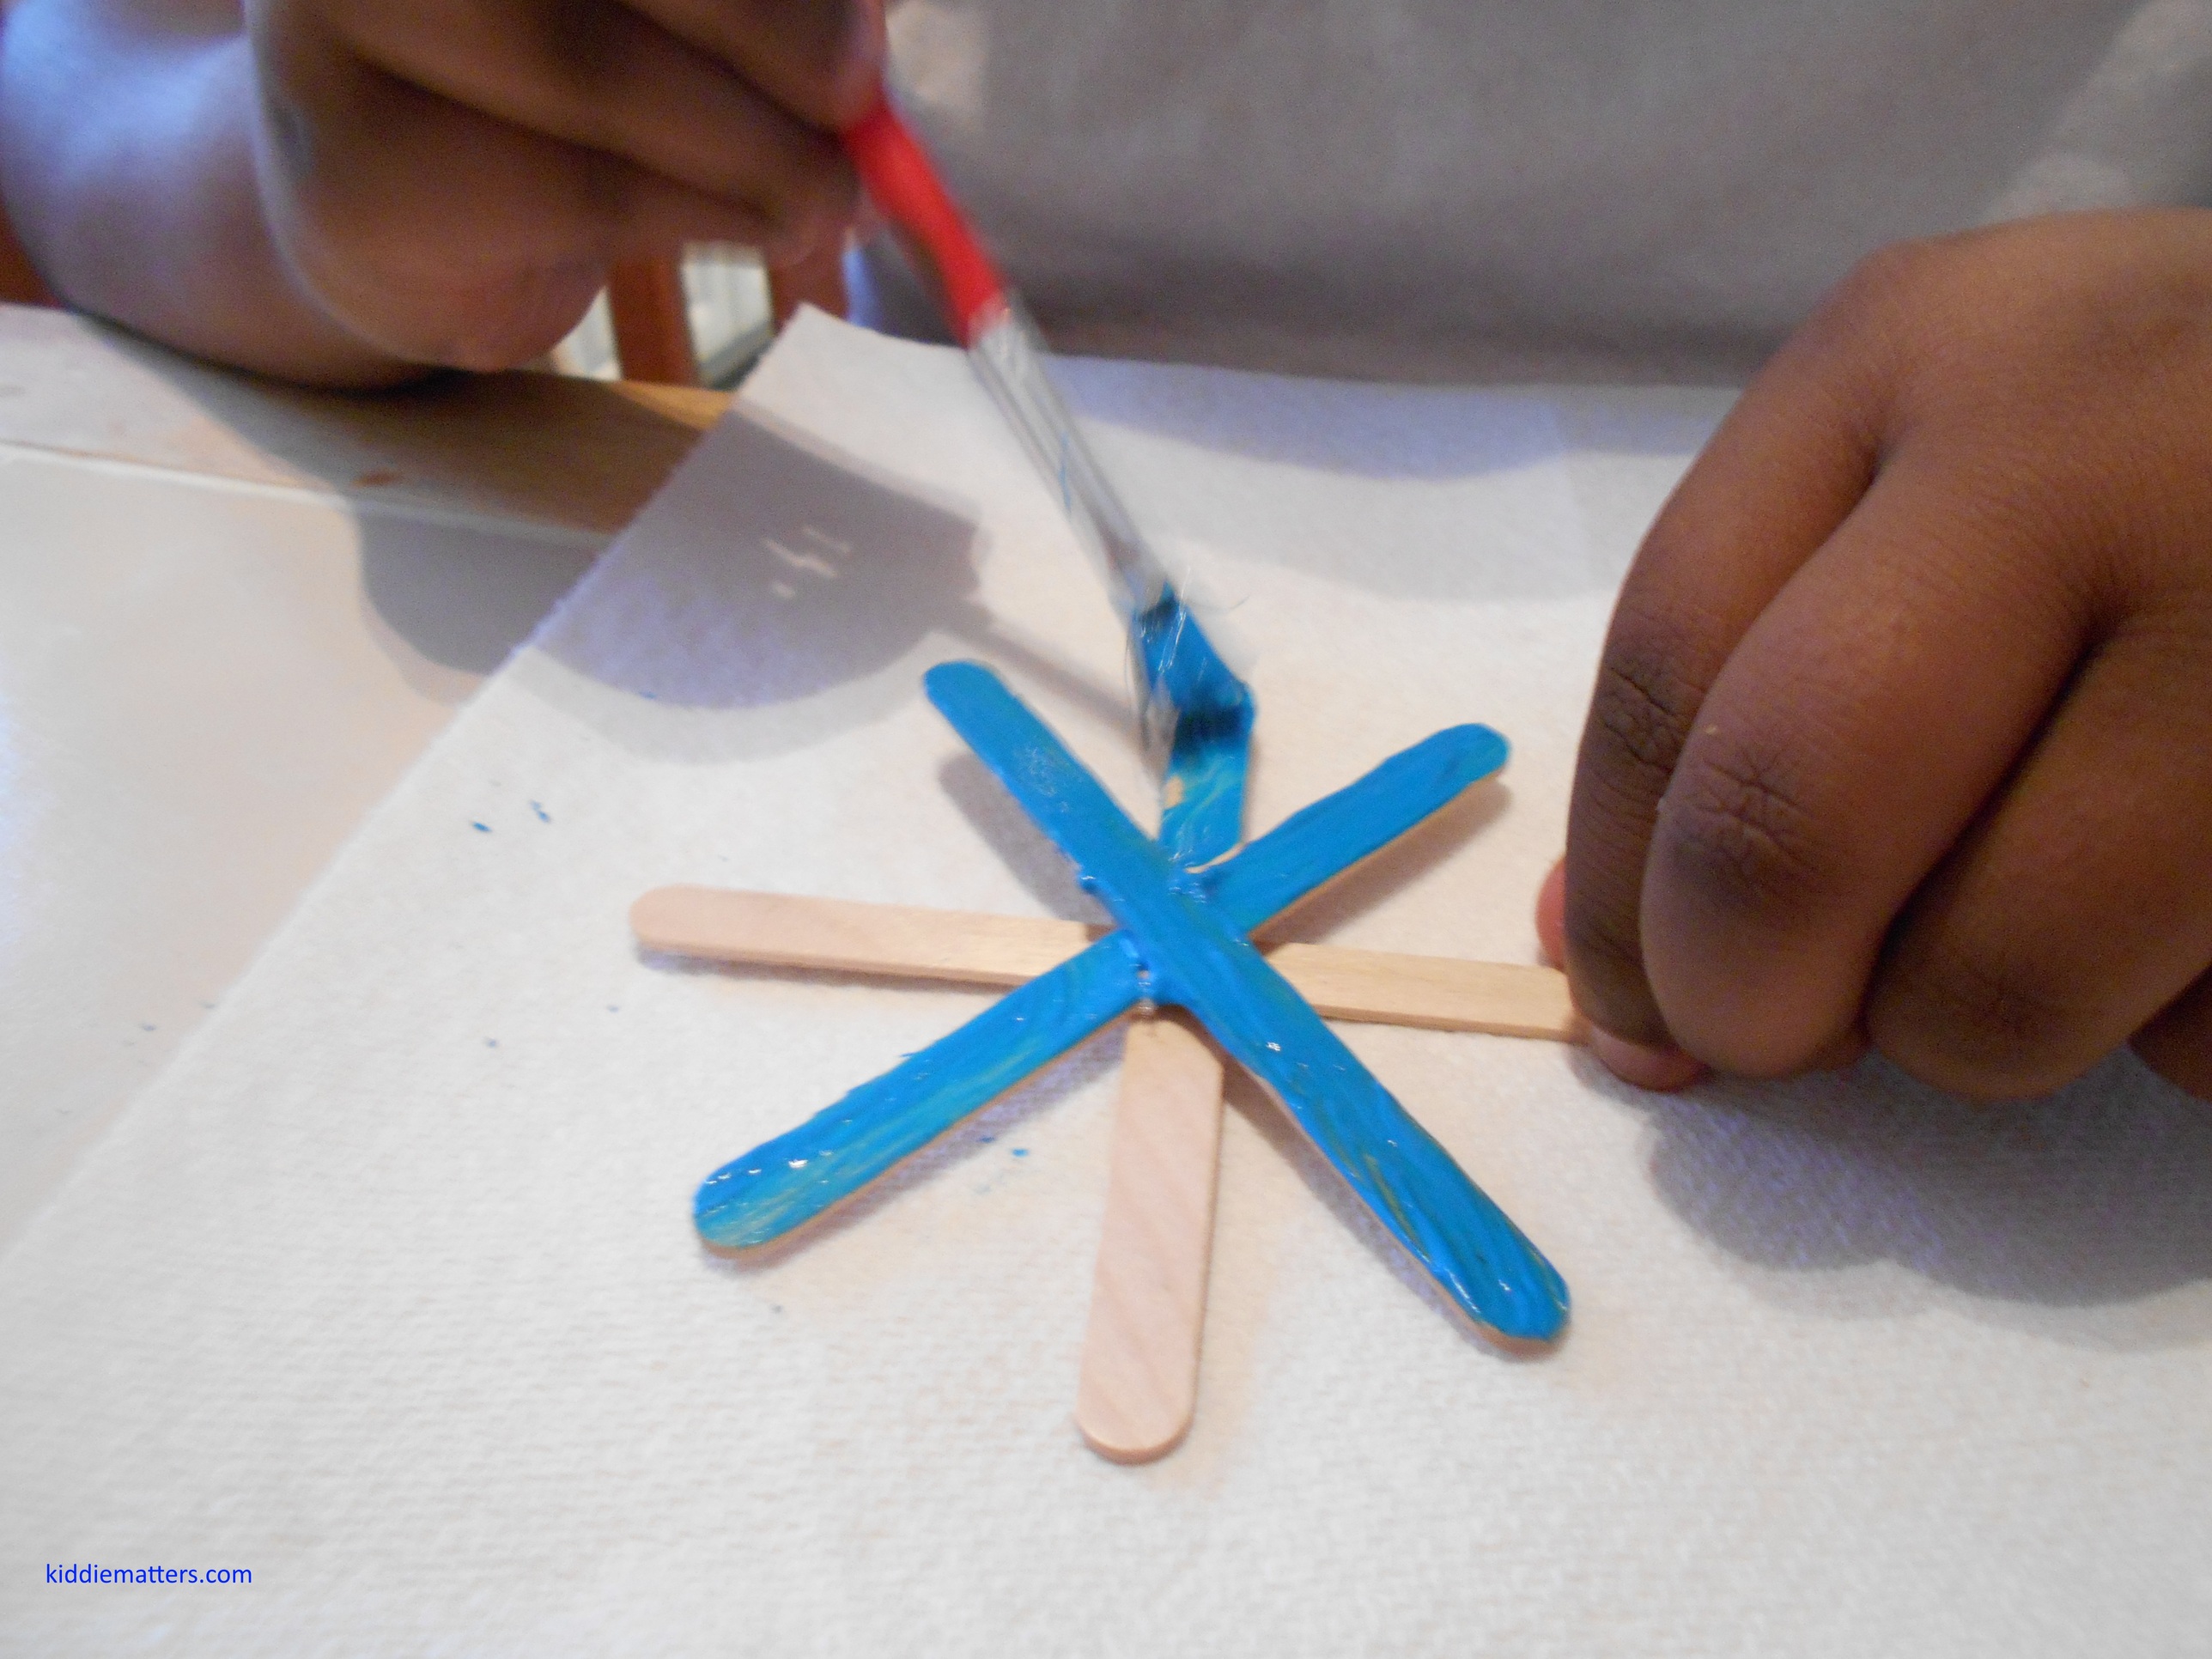
Paint Popsicle sticks on one side. Allow to dry before painting other side. You might need to apply several coats of paint to achieve your desired look. Make sure you let each coat dry before applying another coat of paint.
Step 3
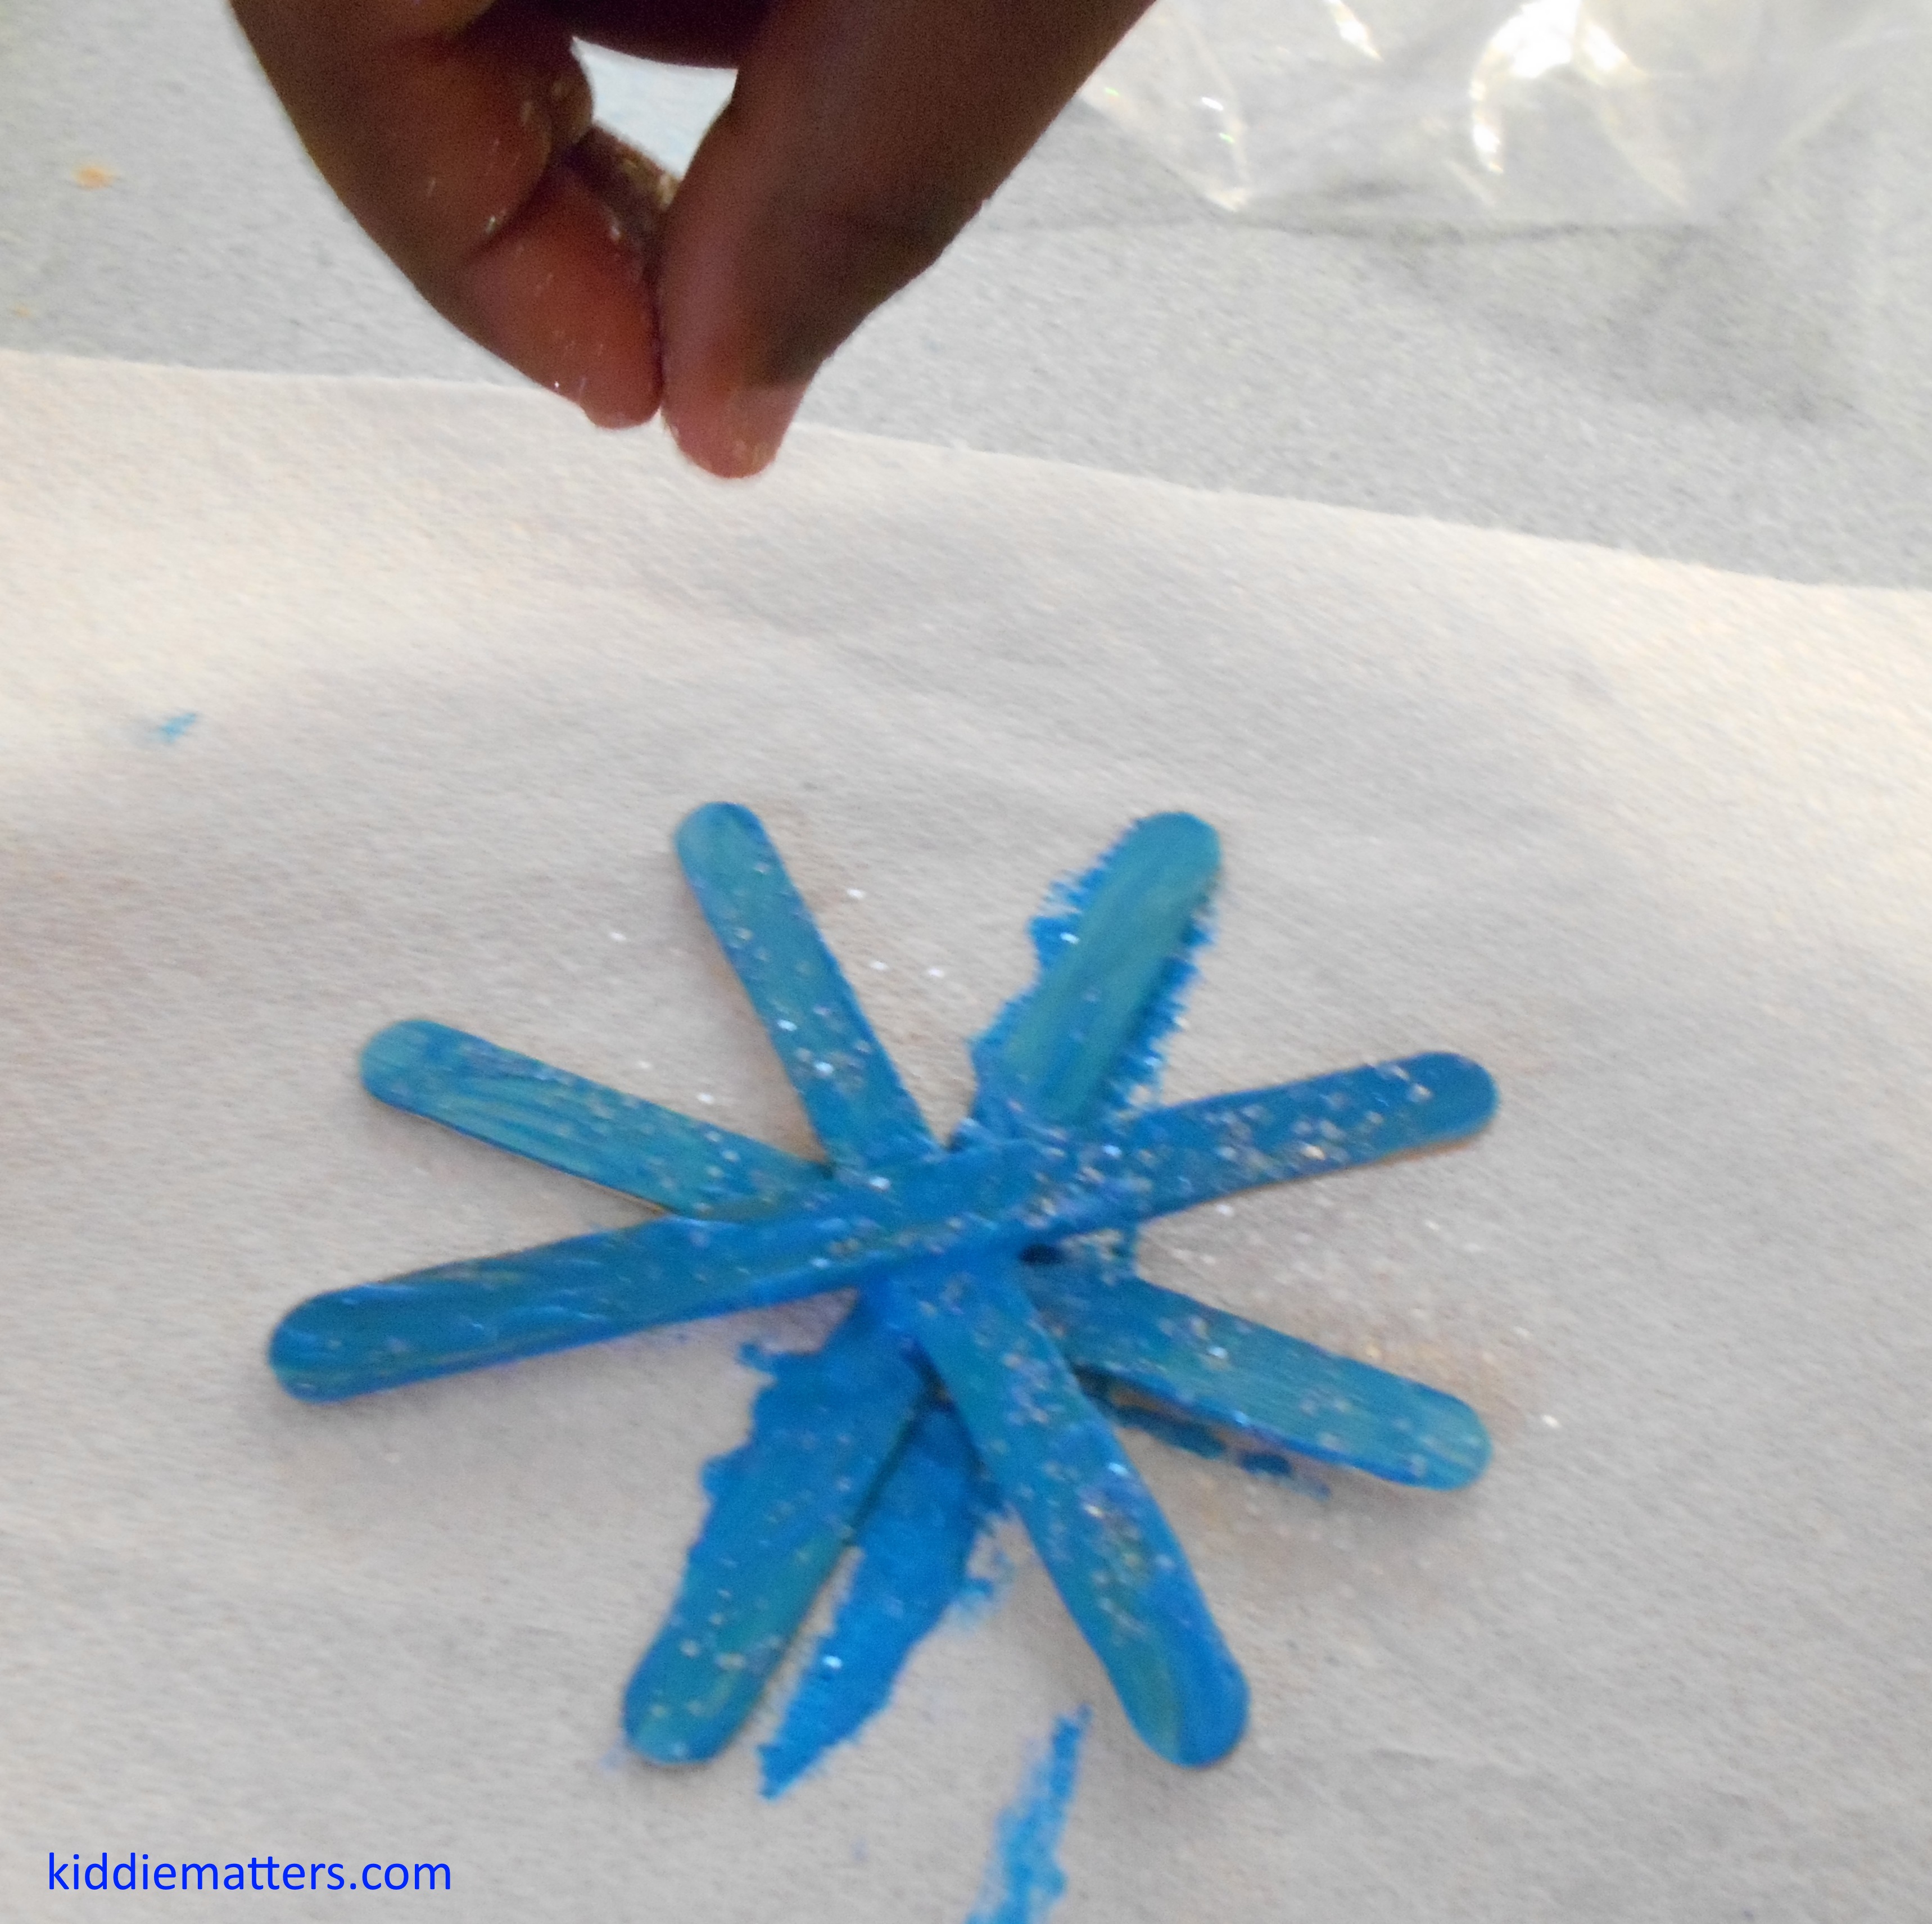
Once the paint dries, glue on your embellishments. Let your inner creative genius guide you as you create your piece of art. (You might need to let your snowflake dry overnight before blinging out the back of your snowflake).
The Finished Product
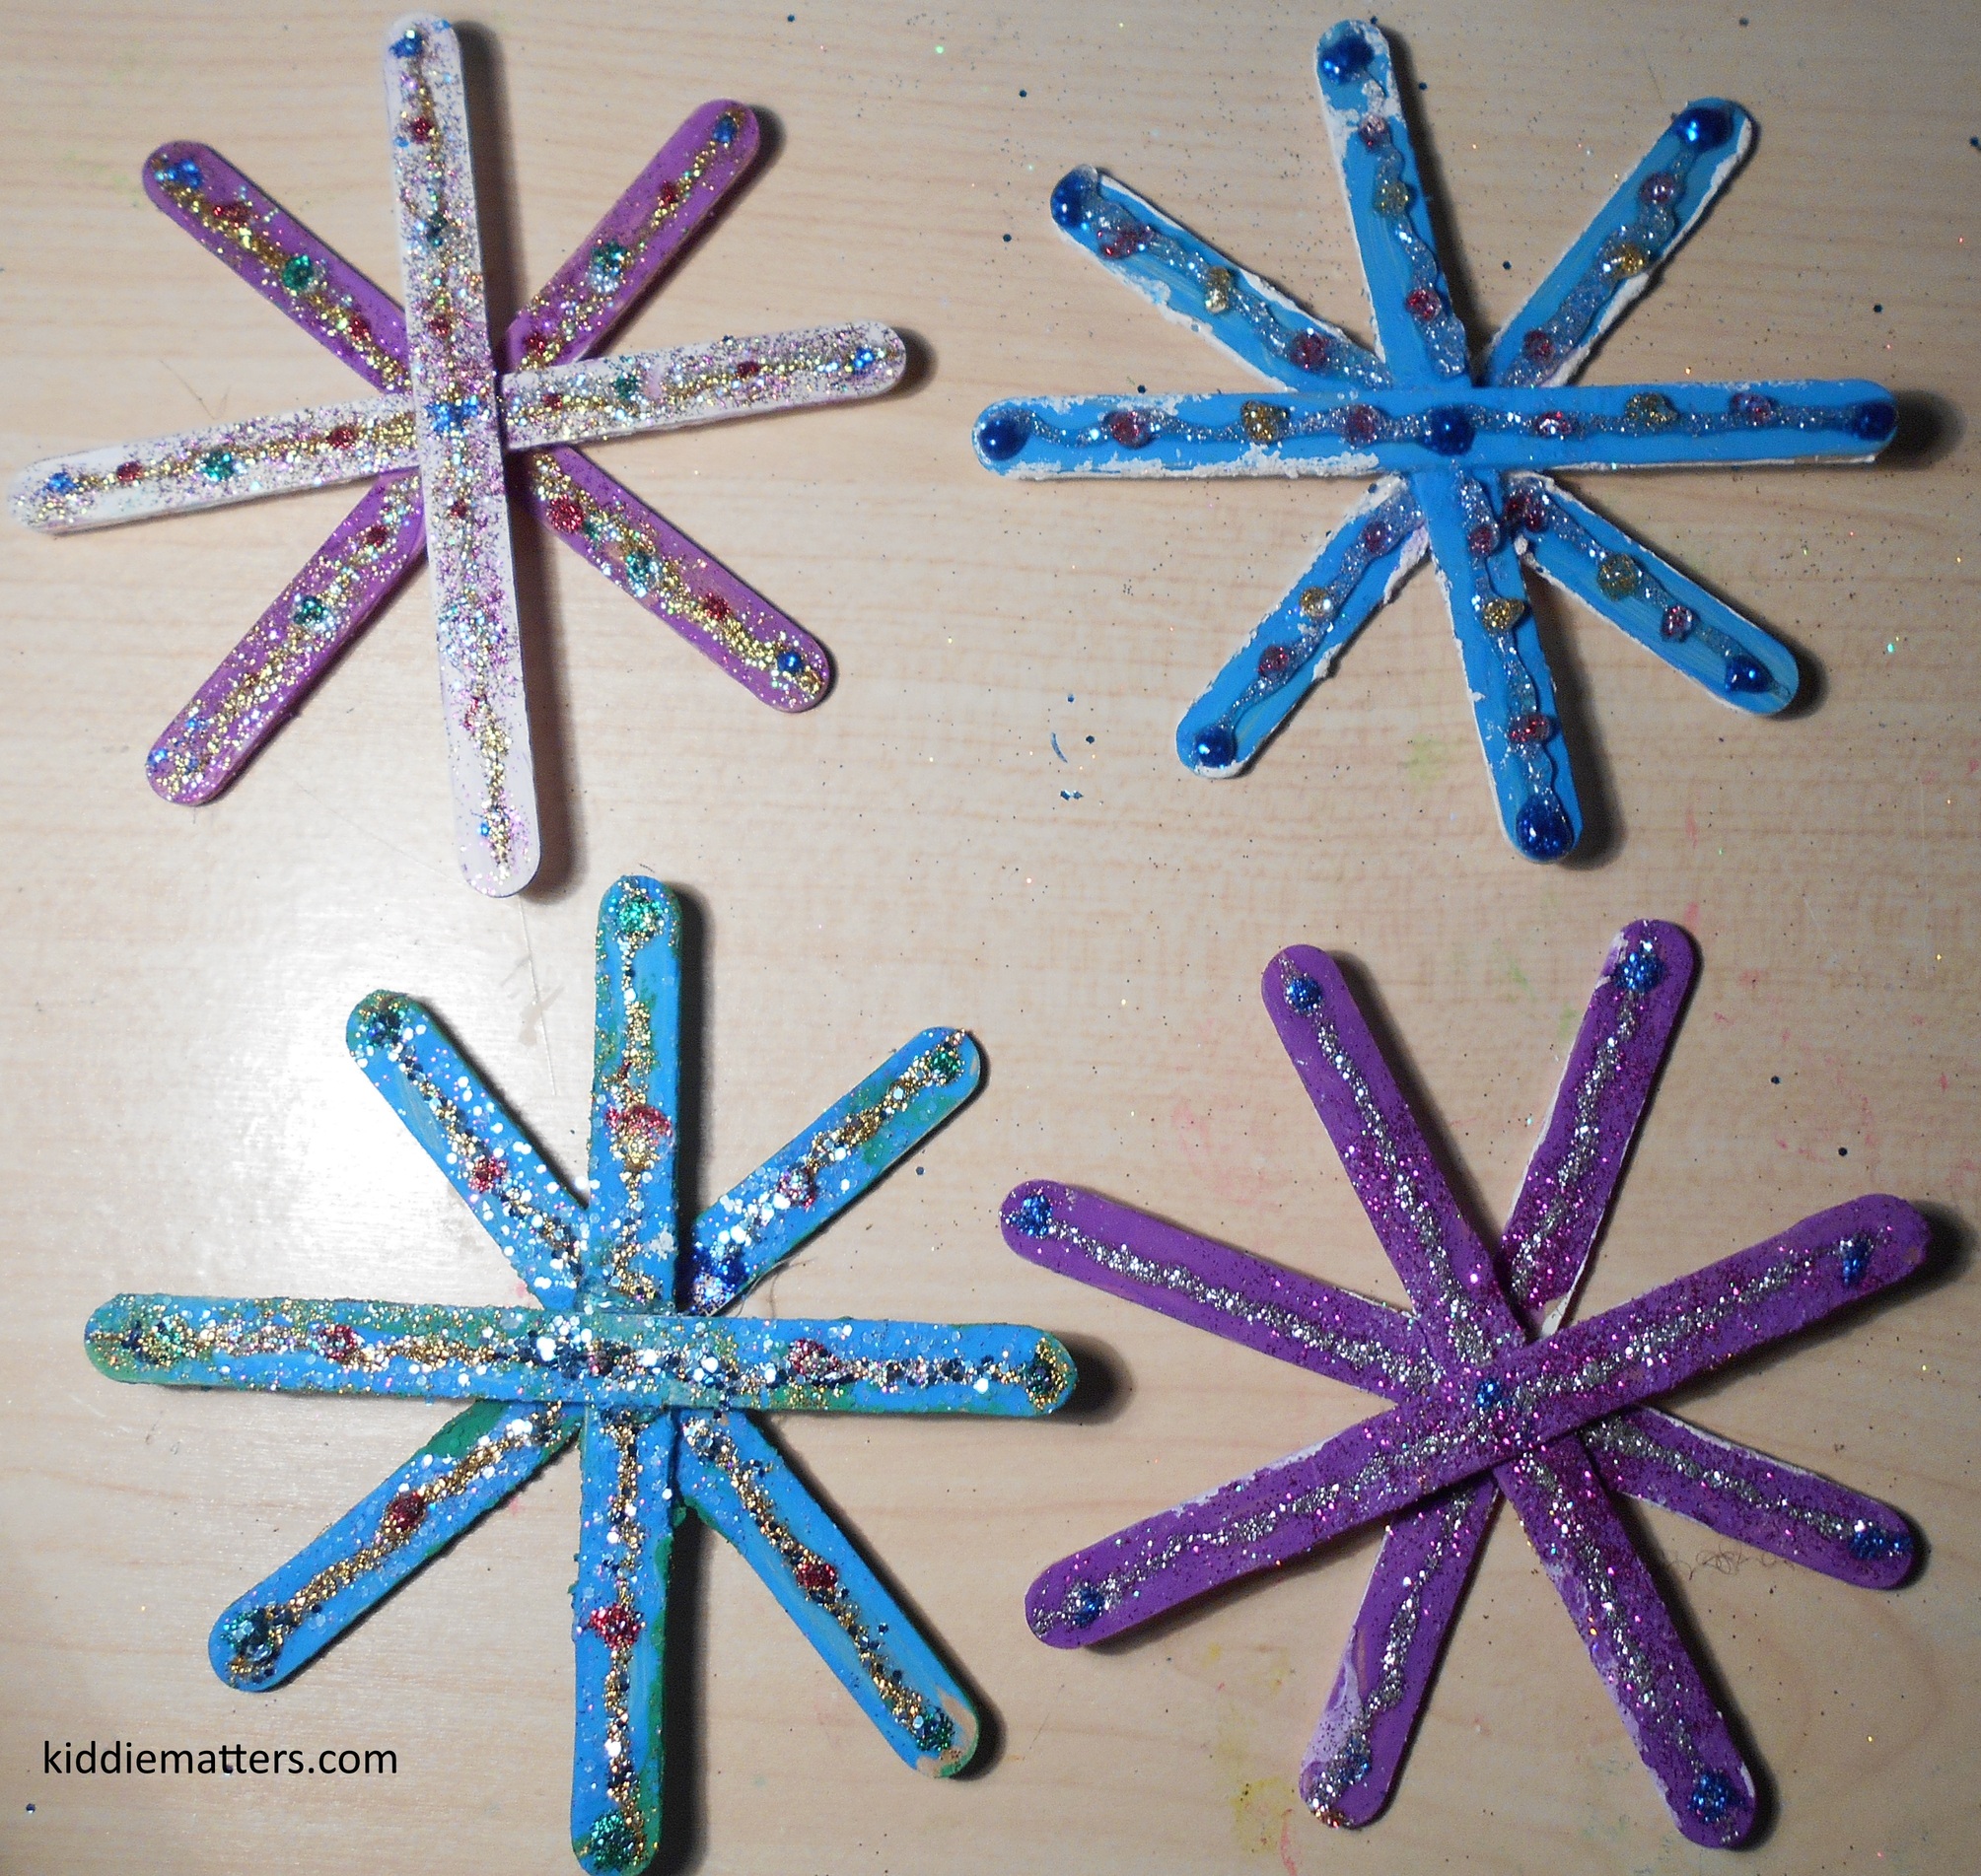
The kids loved how their snowflakes turned out and proudly displayed them in their room I hope you enjoy making these super easy snowflakes. Oh, and by the way, these are fun to make all year round!